Setup: GitHub and VS Code for Web
At the moment, some parts of this guide will unfortunately only work in the Chrome browser, so I recommend continuing in that browser for the purpose of this guide. (Some parts might work on a tablet, but you would definitely want a keyboard attached.)
Create a new GitHub repository
Section titled “Create a new GitHub repository”To make your website accessible to the whole internet, you’ll need to store and publish it somewhere. We’ll be using GitHub Pages for that. If you want, you can buy and configure a custom domain later. But by default, GitHub will publish your website for free under:
https://your-user-name.github.io/your-repository-name/Create a free GitHub account. Choose your username wisely, because it will show up in lots of places. Ideally, something relatively short that’s still available.
Once you are signed into GitHub, create a new repository. A repository is where you will store your project’s files. The only field you need to change is the Repository name: call it something short and descriptive like blog, or cooking-website, or even the domain name of your future website (like cooking.com) if you have reserved one already. Then click Create repository.
Visual Studio Code for the Web
Section titled “Visual Studio Code for the Web”Now that you’re on your repository’s page on GitHub:
- press the
.key on your computer’s keyboard to open the Visual Studio Code for the Web editor. Alternatively, you can go tohttps://github.dev/your-user-name/your-repository-name/(this is the same address you’re already on, but instead ofgithub.com, it usesgithub.dev). - When prompted about signing in using GitHub, click the Allow button.
- Finally, you may have to hit
enterto select your GitHub user.
Now, install the following two VS Code extensions:
- Mastro to preview and publish your work, and
- FAST Tagged Template Literals to properly highlight HTML code inside JavaScript templates.
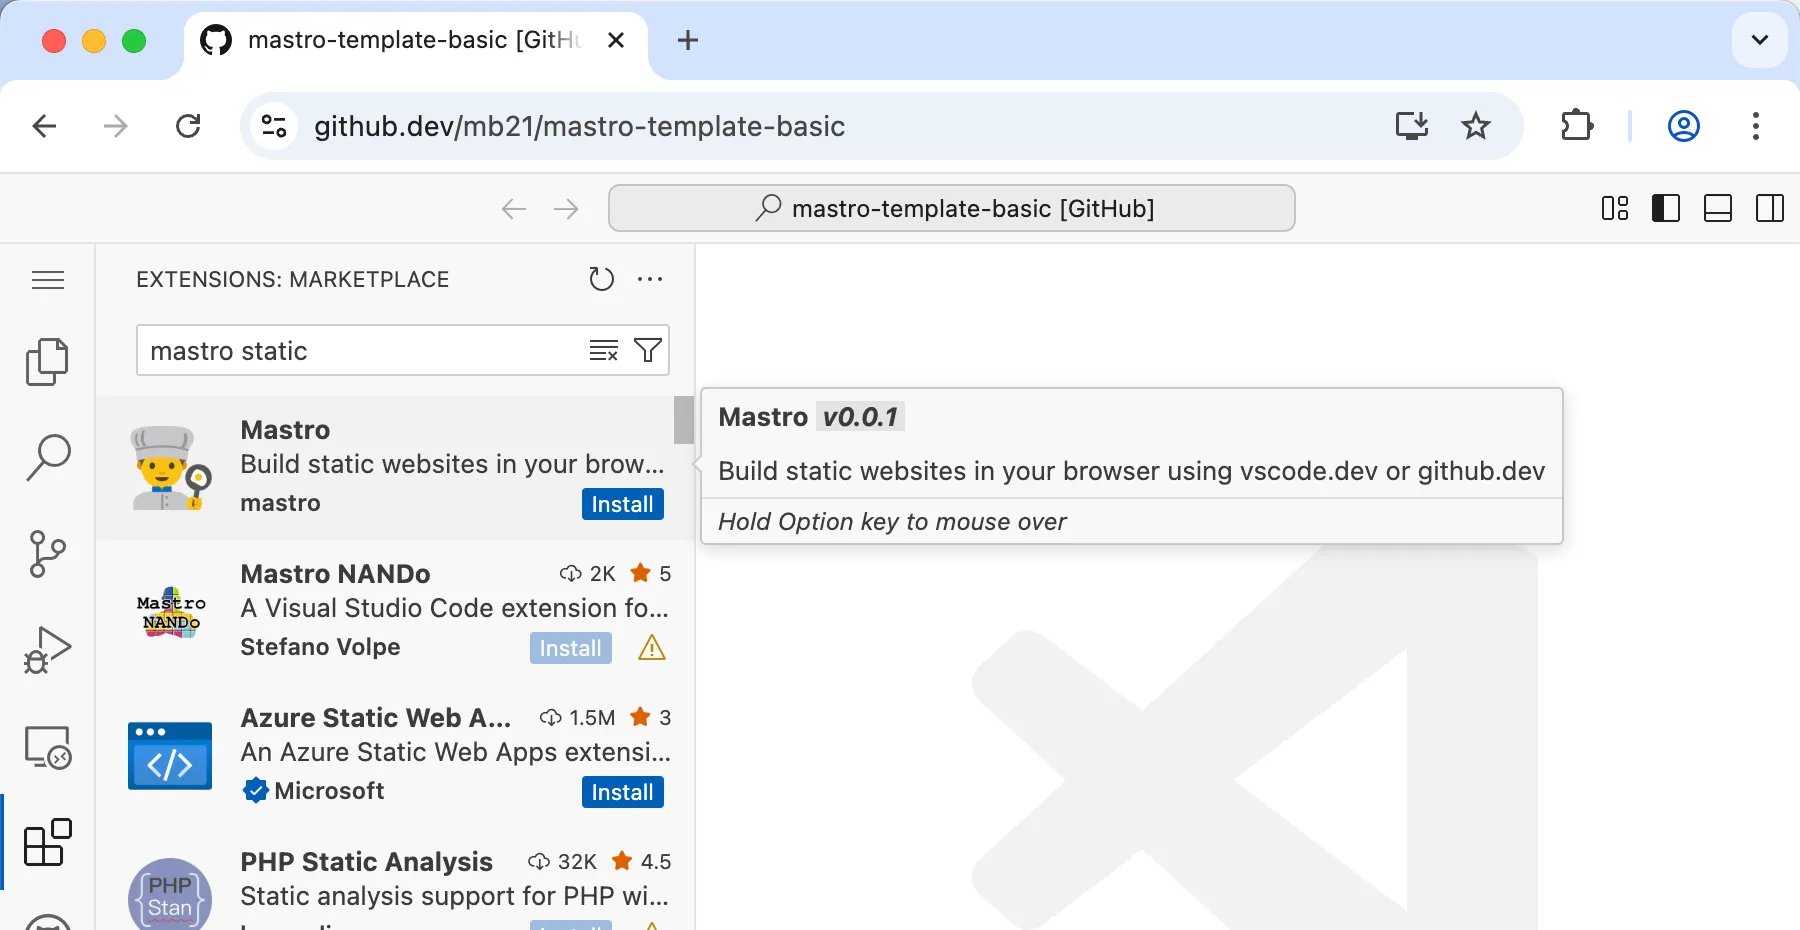
In the Activity Bar on the left, click on the Extensions icon (looks like four blocks with the top-right one flying away). First, search for mastro static (it should be the first search result, the one with the picture of a chef) and click Install. Click Trust Publisher & Install when prompted. Then do the same for the fast-tagged-templates extension.
Done? Congrats, you’re all set up now! You can switch back to the Explorer view (the topmost icon in the activity bar on the left) to finally write some HTML.