Publish your website
You can publish your website to the internet directly from within VS Code – without leaving your browser.
One-time setup
Configure GitHub Pages:

- On GitHub, navigate to the page of the repository you created in the previous chapter:
https://github.com/your-user-name/your-repository-name/ - Click the Settings tab. It’s the rightmost tab, but might be hiding in a
...menu. - In the Code and automation section of the left sidebar, click Pages.
- Under Source, make sure that GitHub Actions is selected.
If you’ve started with Mastro’s basic template repository, you should already have a .github/workflows/deploy.yml file containing a workflow to deploy your website.
After you’ve enabled GitHub Actions, you’ll need to push a change for your website to go live. Let’s do that next.
Save changes and publish to the web
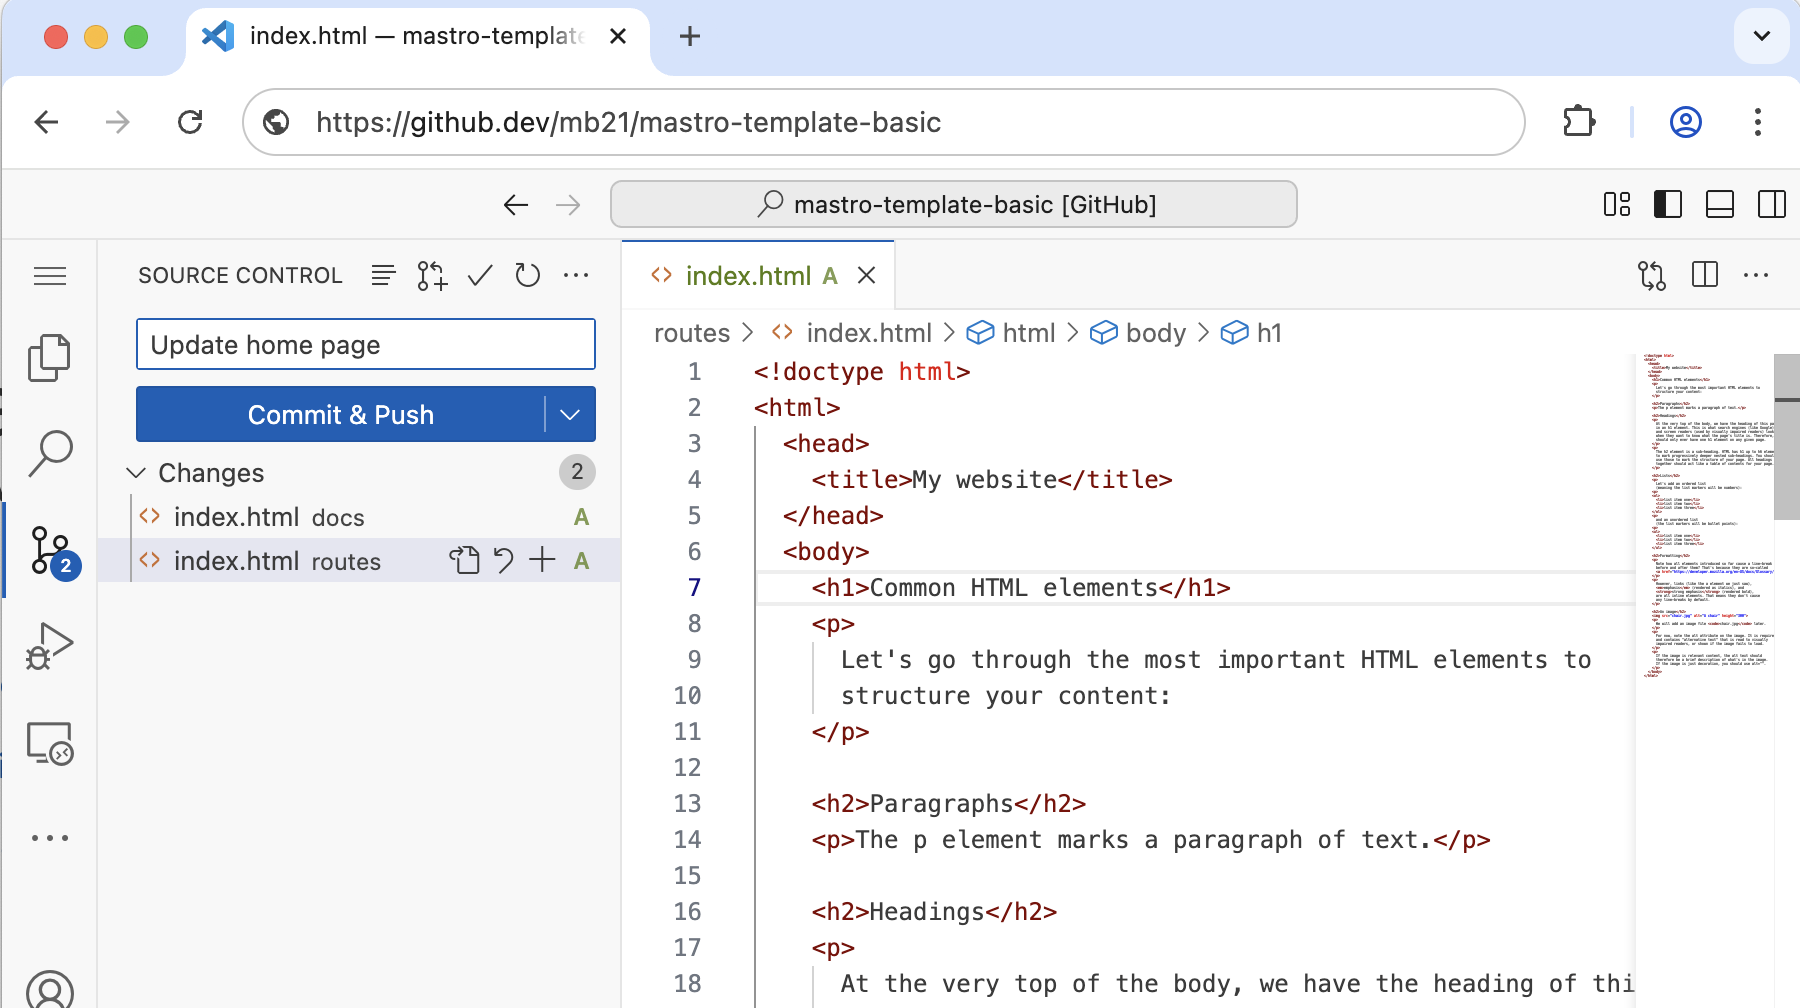
So far, we haven’t saved any of the changes we made back to GitHub. To do that, switch to the Source Control view in the activity bar on the left.
The first time, a blue box might be there with the text:
Your changes will be committed and immediately pushed to the ‘main’ branch on GitHub.
You can click Don’t show again. Below, you should see a list of changed files (e.g. routes/index.html).
To save these changes to your repository on GitHub:
- Enter a message in the text field. For example
Update home page. - Click the blue Commit & Push button.
In your browser, go to your repository’s page on GitHub and verify that the changes are there: https://github.com/your-user-name/your-repository-name/
On that same GitHub page, in the horizontal grey bar above your files and folders, you should see the message you just entered. And just on the right of your message, there should be a green tickmark, indicating that the website was successfully deployed. If it’s still a yellow dot, you need to wait a few more seconds.
To visit your website, open a new tab in your browser and go to:
https://your-user-name.github.io/your-repository-name/
If you’re unsure about the link to your website, you can find it where you previously set up Github Pages. If you still have that page open, reload it and look for the Visit site button. If not, to find it again, click the Settings tab in the top right -> Pages -> Visit site.
Congratulations on publishing your website!
Generating all pages inside VS Code
If you make a mistake in your server-side JavaScript, it’s possible that the site will fail to build and deploy. On your GitHub repo page, instead of a green tick, there will be a red cross besides your last commit message. You can click through and should eventually find an error message that might explain what went wrong. However, it can be faster to generate the whole site with the Mastro VS Code extension and see whether any pages fail to build.
To do so, click the Generate button in the top-right corner of the Mastro preview pane (the one that previews your website).
After a slight delay, the Output panel should fade in from the bottom and inform you that Mastro built the entire static website and/or if anything went wrong. Feel free to close that panel again – it will reappear every time you click the Generate button.
The HTML files are generated in the generated/ folder, which you should now see in the Explorer view on the left, just above your routes/ folder. You can look at the generated files in the generated/ folder, but don’t edit them, as they’ll be overwriteen the next time you click Generate.
After you’ve fixed your code, and generating the site doesn’t produce any errors anymore, you can click Commit & Push again in the Source Control view. This time, after a minute or so, the green tick should appear again on your GitHub repo page.